itanzopen.com

23.6 °C
Air Quality: 3 (Moderate)Frankfurt am Main

Mjesec: ožujak 2016.

  • LAMP Install on Ubuntu – how to

    Before we start with LAMP install, many will ask “What is LAMP?”.

    LAMP is short for Linux, Apache, MySQL and PHP, an open-source Web development platform, also called a Web stack, that uses Linux as the operating system, Apache as the Web server, MySQL as theRDBMS and PHP as the object-oriented scripting language. Perl orPython is often substituted for PHP. And now when we answered that important question we can start with

    LAMP Install – Ubuntu

    1. LINUX
    2. Since we already running Ubuntu, the linux part is taken care of.
      Before starting the installation, make sure your distribution is up to date so open terminal and run command:
      sudo apt-get update
      sudo apt-get upgrade

      whichdownloads the package lists from the repositories and “updates” them to get information on the newest versions of packages and their dependencies. It will do this for all repositories and PPAs.

    3. APACHE
    4. The Apache HTTP Server has been the most popular web server on the public Internet.
      To install apache, open terminal and type in this command:

      sudo apt-get install apache2

      To check if Apache is installed,Open a web browser and navigate to http://localhost/. You should see a message saying It works! or Apache2 Default page like in picture below
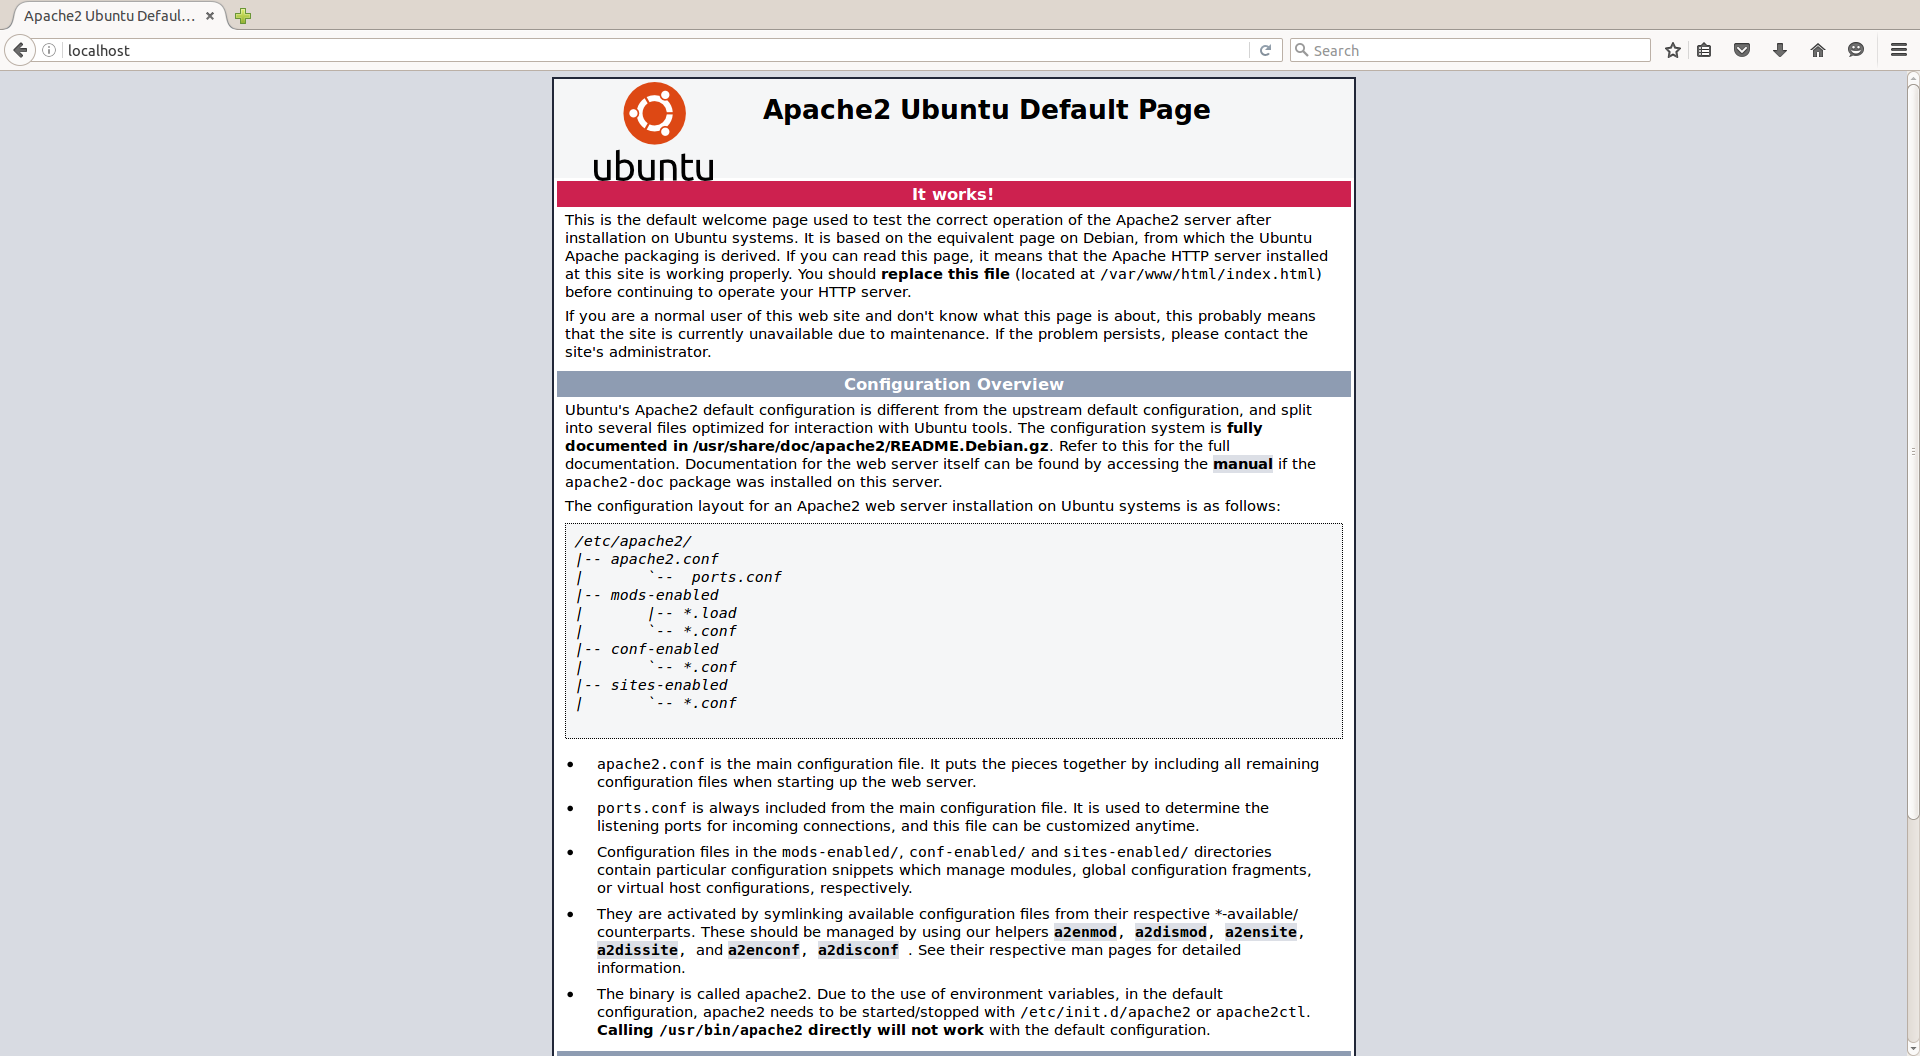
      apache

    5. MySQL
    6. MySQL is a powerful database management system used for organizing and retrieving data

      To install MySQL, open terminal and type in this command:

      sudo apt-get install mysql-server

    7. PHP
    8. To install PHP, open terminal and type in this command:

    9. sudo apt-get install php5 libapache

    At the end of LAMP install you have to restart web server. Open terminal and type in this command:
    sudo /etc/init.d/apache2 restart

    And LAMP install is over! Now you can start your first project on your own web server. 🙂

  • Install Kannel – for dummies :)

    Install Kannel – for dummies 🙂

    install kannel

    Kannel is a compact and very powerful open source WAP and SMS gateway, used widely across the globe both for serving trillions of short messages (SMS), WAP Push service indications and mobile internet connectivity.

    There are many tutorials “How to install kannel” but there is no “for dummies” one so I decided to make one 🙂

    This procedure to install kannel is tested and adjusted on Ubuntu Server with LAMP installed on.

    Install kannel procedure:

      • move to home folder
         cd /home
      • execute all these commands
        1. sudo apt-get update
        2. sudo apt-get install build-essential
        3. sudo apt-get install bison
        4. sudo apt-get install libmysqld-dev
        5. sudo apt-get install libxml2-dev
        6. sudo apt-get install subversion
        7. svn co https://svn.kannel.org/gateway/trunk
      • change name of downloaded folder
        mv trunk kannel
      • enter new directory
        cd kannel
      • execute all these commands
          1. sudo ./configure --with-mysql
          2. sudo make
          3. sudo make bindir=/home/kannel/bin install
          4. enter directory
            cd /home/kannel/addons/sqlbox
          5. execute all these commands
            1. sudo ./configure --with-kannel-dir=/home/kannel
            2. sudo make
            3. sudo make install
          6. enter new directory
            cd /home/kannel/addons/opensmppbox
          7. execute all these commands
            1. sudo ./configure --with-kannel-dir=/home/kannel
            2. sudo make
            3. sudo make install

    And Kannel is installed successfully.